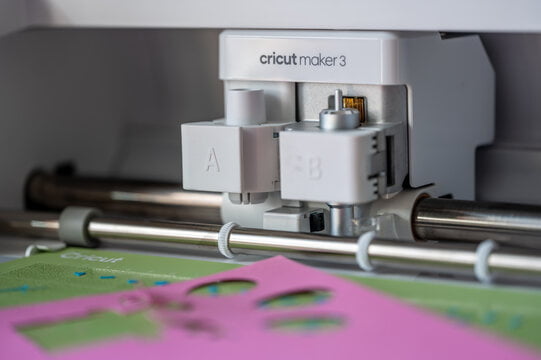
Are you tired of boring and generic store-bought candles with uninspiring labels? Do you want to add a personal touch to your candles and make them stand out? Well, look no further than your trusty Cricut machine! With a Cricut machine and a little creativity, you can make custom candle labels that are sure to impress. In this article, we’ll walk you through the steps to create your own personalized candle labels using your Cricut machine.
Step 1: Gather Your Materials
Before we begin, let’s make sure we have all the materials we need. You will need a Cricut machine (we recommend the Cricut Maker or the Cricut Explore Air 2), adhesive vinyl in the color(s) of your choice, transfer tape, scissors, and weeding tools (optional, but helpful).
Step 2: Design Your Candle Label
The first step in creating your custom candle label is to design it. Use Cricut Design Space, which is a free online program, to create your label. Start by opening a Design Space and creating a new project.
Next, choose a shape for your label. You can use a basic shape, such as a circle or rectangle, or you can get creative and choose a more unique shape.
Once you have your shape selected, it’s time to add your text and any images or designs you want to include. You can choose from various fonts and images in Design Space, or you can upload your own.
When you’re happy with your design, make sure to save it.
Step 3: Cut Your Vinyl
Now it’s time to cut your vinyl. Select the color(s) of vinyl you want to use for your label, load the vinyl into your Cricut machine, and select the material you’re using in Design Space.
Once you have your settings selected, click “Make It” and your design will be loaded onto your cutting mat. Follow the on-screen instructions to cut your vinyl.
Step 4: Weed Your Vinyl
Once your vinyl is cut, it’s time to weed it. Weeding is the process of removing the excess vinyl from your design. Use your weeding tools to carefully remove the vinyl around your design, leaving only the parts you want to transfer to your candle.
Step 5: Transfer Your Vinyl
Now it’s time to transfer your vinyl to your candle. Cut a piece of transfer tape that’s slightly larger than your design. Peel the backing off the transfer tape and place it over your vinyl design, making sure to smooth out any bubbles.
Next, carefully peel the transfer tape and vinyl off your cutting mat. Place the transfer tape and vinyl onto your candle, making sure to center it and press it down firmly. Use a scraper tool or credit card to smooth out any bubbles and ensure the vinyl is adhered to the candle.
Finally, slowly peel off the transfer tape, leaving the vinyl design on your candle. If any part of the vinyl starts to lift up with the transfer tape, gently press it back down and try again.
And that’s it! You’ve just created your own custom candle label using your Cricut machine. Repeat the process for all your candles, and you’ll have a set of unique and beautiful candles that are perfect for gift-giving or just for adding a personal touch to your home decor.
In conclusion, creating custom candle labels with a Cricut machine is easy and fun. With a little bit of imagination, you can create labels that are uniquely yours and that will add a special touch to any candle. So, unleash your creativity and start designing your own custom candle labels today!


